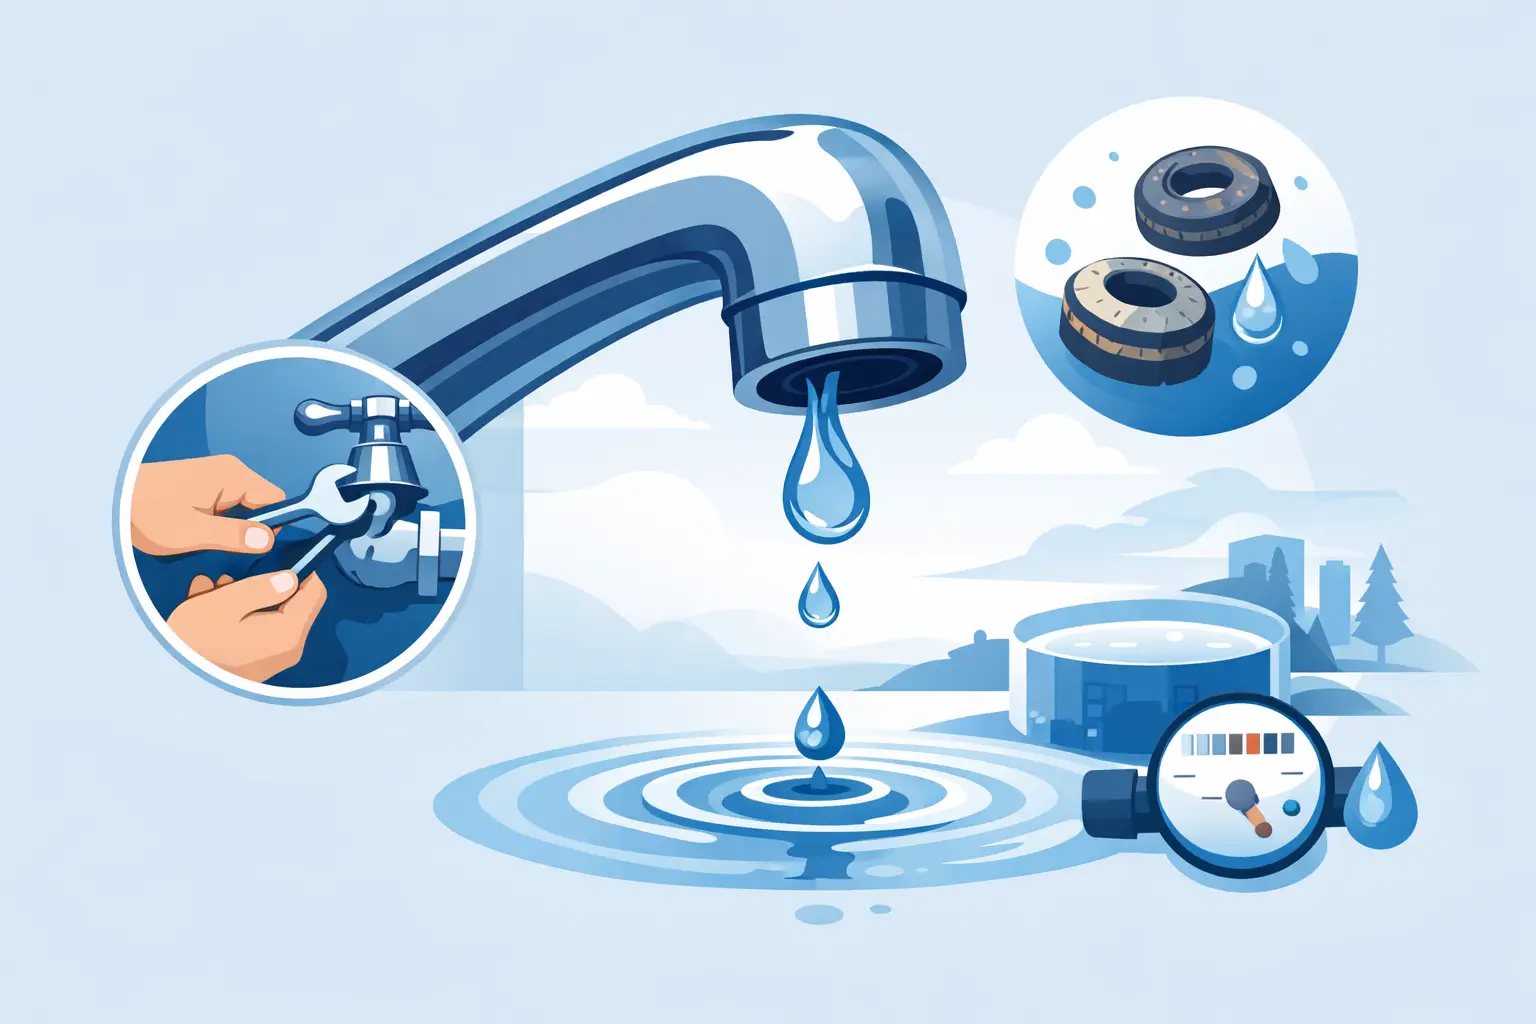
That steady tap-tap-tap from the bathroom or kitchen sink is more than an annoyance. A faucet that drips around the clock can waste a surprising amount of water, leave mineral stains in the basin, and point to a worn part that will only get worse. Knowing how to stop faucet dripping starts with identifying exactly where the water is coming from and choosing a repair that fits the faucet.
A small repair is often possible, especially when the leak is limited to the spout. But faucets have several internal designs, and forcing the wrong part or overtightening a connection can turn a simple fix into a damaged valve or a leak below the sink. When in doubt, a qualified plumber can diagnose the fixture quickly and make sure the repair holds.
Find Where the Faucet Is Actually Leaking
Before taking anything apart, dry the faucet completely and watch it for a few minutes. Water dripping from the spout after the handles are turned off usually means an internal seal, cartridge, washer, or valve seat is worn. This is the most common type of faucet drip.
Water appearing around the handle, however, is a different problem. It may be caused by a loose packing nut, worn O-rings, or a failing cartridge. A leak at the base of the faucet can come from deteriorated O-rings, a loose mounting nut, or water working its way under the fixture during normal use. If water is collecting inside the cabinet, check the supply lines and drain connections as well. A faucet may be dripping from the spout while a separate connection below is also leaking.
It also helps to notice when the drip occurs. If it is worse after running hot water, temperature changes may be affecting a worn seal. If the faucet drips only when a handle is moved to a certain position, the cartridge or stem is often the likely issue.
Turn Off the Water Before Starting a Faucet Repair
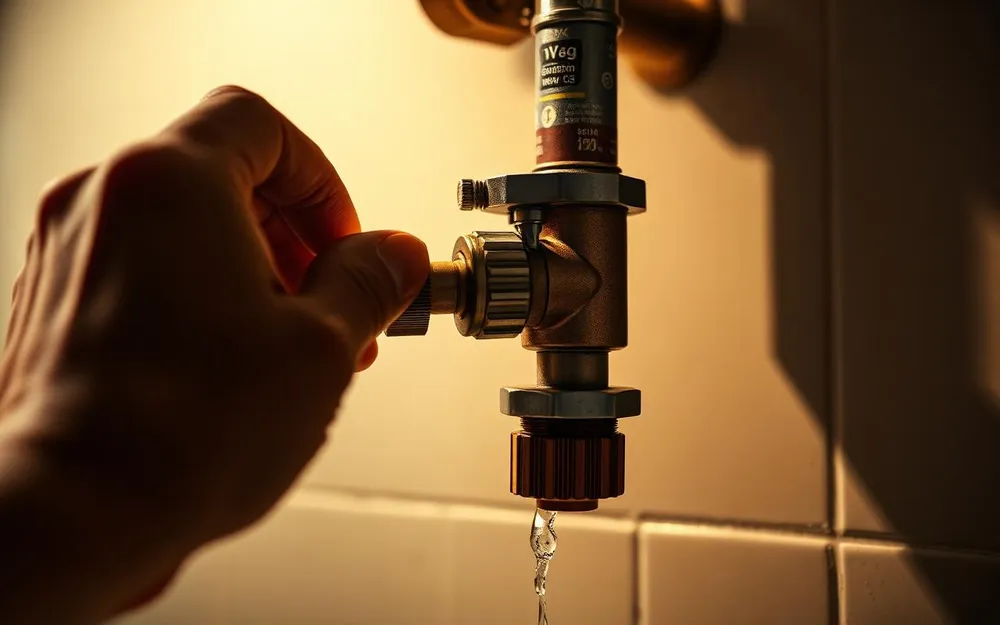
Do not begin by removing a handle. First, close the hot and cold shutoff valves under the sink by turning each valve clockwise. Then open the faucet handles to release water still sitting in the lines. Plug the sink drain with a stopper or place a cloth over it so small screws and clips do not disappear into the drain.
If an under-sink shutoff valve will not turn, is badly corroded, or leaks when you touch it, stop there. Do not force it. Older valves can break or begin leaking at the stem, leaving you with a larger problem than the original faucet drip. Shut off the home’s main water supply only if necessary, and call a plumber if the individual valves need replacement.
For a basic repair, you may need an adjustable wrench, Allen key, Phillips and flathead screwdrivers, pliers, a small towel, and the correct replacement part. Take clear photos as you remove pieces. Faucet parts can look nearly identical, but a small difference in size or shape can prevent a proper seal.
How to Stop Faucet Dripping by Faucet Type
The repair depends on what is inside the fixture. The faucet’s age, handle arrangement, and manufacturer can offer clues, but the internal parts provide the real answer.
Compression Faucets
Traditional compression faucets usually have separate hot and cold handles. They use a threaded stem that presses a rubber washer against a valve seat to stop water flow. When that washer wears down, water can slip past it and drip from the spout.
After removing the handle and trim, use a wrench to remove the stem assembly. Inspect the rubber washer at the bottom of the stem. If it is flattened, cracked, hardened, or missing pieces, replace it with an exact match. Check the screw that holds it in place, too. A loose or corroded screw can keep a new washer from sealing correctly.
The valve seat inside the faucet body may also be rough, pitted, or damaged. Replacing the washer without addressing a damaged seat may only provide a temporary fix. A plumber can remove and replace a faulty valve seat without damaging the fixture body.
Cartridge Faucets
Many modern single-handle and two-handle faucets use cartridges. In these faucets, a worn cartridge is a frequent reason for dripping, hard-to-turn handles, uneven water temperature, or leaking near the handle.
Remove the handle, retaining clip or nut, and then pull the cartridge straight out. This is where photos are especially useful. The replacement must sit in the same orientation as the original. Clean away mineral buildup from the faucet body before installing the new cartridge, but avoid scraping metal surfaces aggressively. Reassemble the faucet, turn the shutoff valves back on slowly, and test both hot and cold water.
Cartridges are not universal. Bringing the old cartridge to a plumbing supply store can help, although some models require a manufacturer-specific part. If the cartridge is stuck, do not twist or pry hard enough to crack the faucet body. A stuck cartridge is a good reason to have a professional take over.
Ball and Ceramic Disc Faucets
Single-handle ball faucets contain small springs and rubber seats beneath a metal or plastic ball. A drip often comes from worn seats and springs, though the ball itself can also be damaged. These parts are small and must be installed in the correct order.
Ceramic disc faucets use two durable ceramic discs to regulate water. They tend to last a long time, but mineral scale, debris, or a damaged seal can prevent the discs from closing fully. Cleaning the cylinder and replacing worn inlet seals may stop the drip. Because ceramic components can crack if mishandled, this repair calls for a careful approach.
Do Not Rely on Overtightening the Handle
A common reaction to a dripping faucet is to turn the handle tighter. That might slow the drip briefly, but it does not repair the problem. On compression faucets, overtightening can crush the washer and damage the valve seat. On cartridge, ball, and disc faucets, it can strain the handle assembly or internal parts.
Use normal hand pressure when turning the faucet off. If it still drips, the fixture needs repair. The same rule applies when reassembling it. Tighten retaining nuts and supply connections securely, but do not use excessive force. A cracked plastic nut or stripped fitting can create a leak that is harder to reach and more expensive to repair.
Test the Repair Carefully
Once the faucet is back together, remove the drain plug or cloth and slowly open the under-sink shutoff valves. Watch the supply lines, faucet base, handles, and cabinet floor as water pressure returns. Run both hot and cold water for a minute, then turn the faucet off and wait.
A few drops of water left in the spout after use are normal. A continuing drip is not. If the faucet still leaks, confirm that the correct part was installed and that it is seated properly. A persistent drip after replacing the washer or cartridge may mean the valve seat, faucet body, or another internal component is damaged.
When to Call a Plumber for a Dripping Faucet
A dripping faucet is often a manageable repair, but some situations call for professional service. Contact a plumber when shutoff valves are seized or leaking, the faucet is heavily corroded, water is leaking inside the cabinet, or the fixture continues dripping after a replacement part is installed. The same applies if you cannot identify the faucet model or find a compatible cartridge.
Replacement may be the smarter option when a faucet is old, repeatedly repaired, or showing corrosion around its base. Installing a new fixture can solve recurring leaks, improve operation, and reduce the chance of a hidden under-sink problem. For homeowners and property managers in Sylmar and nearby communities, Best Quality Plumbing Services can assess whether a targeted repair or replacement is the better value.
A faucet should turn off cleanly and stay off. Taking care of a drip early protects your water bill, your sink cabinet, and your peace of mind before a minor fixture issue becomes a larger plumbing repair.