A dripping faucet can waste more than water. It can stain a sink, damage the cabinet below, raise your water bill, and become one more household problem that never seems to stop. This faucet replacement guide for homeowners explains when replacement makes sense, what to expect from the job, and when calling a plumber protects your home from a larger repair.
Start by Deciding: Repair or Replace?
Not every faucet problem requires a new fixture. A worn washer, cartridge, O-ring, or aerator can often be replaced at a lower cost than installing a new faucet. If the faucet is fairly new, the finish is in good condition, and replacement parts are available, repair is usually the sensible first step.
Replacement is often the better choice when leaks keep returning, the handle is hard to turn, corrosion is visible around the base, or the faucet no longer matches the needs of the space. A kitchen faucet with poor reach, weak spray performance, or a broken pull-down hose can make daily tasks frustrating. In a bathroom, a dated or damaged faucet may be worth replacing during a vanity or sink update.
Look underneath the sink before making the decision. Water marks, swollen cabinet material, rusted shutoff valves, or active drips at the supply connections may point to problems beyond the faucet itself. A new fixture will not fix a failing valve or damaged water line.
Choose a Faucet That Fits the Sink and Plumbing
A faucet can look right online and still be wrong for the sink. The most common installation problem is buying a fixture that does not match the number or spacing of holes in the countertop or sink deck.
Bathroom sinks commonly have a single hole, centerset holes spaced 4 inches apart, or widespread holes generally spaced 8 inches apart. Kitchen sinks may have one to four holes, depending on whether they include a separate sprayer, soap dispenser, or water filter tap. Measure first, then choose a faucet designed for that configuration. Some faucets include an escutcheon plate to cover unused holes, but that does not solve every layout issue.
Also consider the clearance above and behind the sink. A tall kitchen faucet can interfere with a window or cabinet. A short spout may not reach far enough into a deep basin. For bathroom faucets, make sure the spout reaches the drain area rather than sending water toward the back of the sink.
Finish matters, but function matters more. Chrome is durable and easy to clean. Brushed nickel hides fingerprints well. Matte black can make a strong visual statement but may show mineral buildup in homes with hard water. Choose a finish you can maintain and a faucet from a manufacturer with accessible replacement parts.
What Homeowners Should Check Before Replacing a Faucet
A straightforward faucet replacement can become difficult when old plumbing components are seized, corroded, or improperly installed. Before beginning, clear out the cabinet, place a towel or shallow pan beneath the connections, and identify the hot and cold shutoff valves.
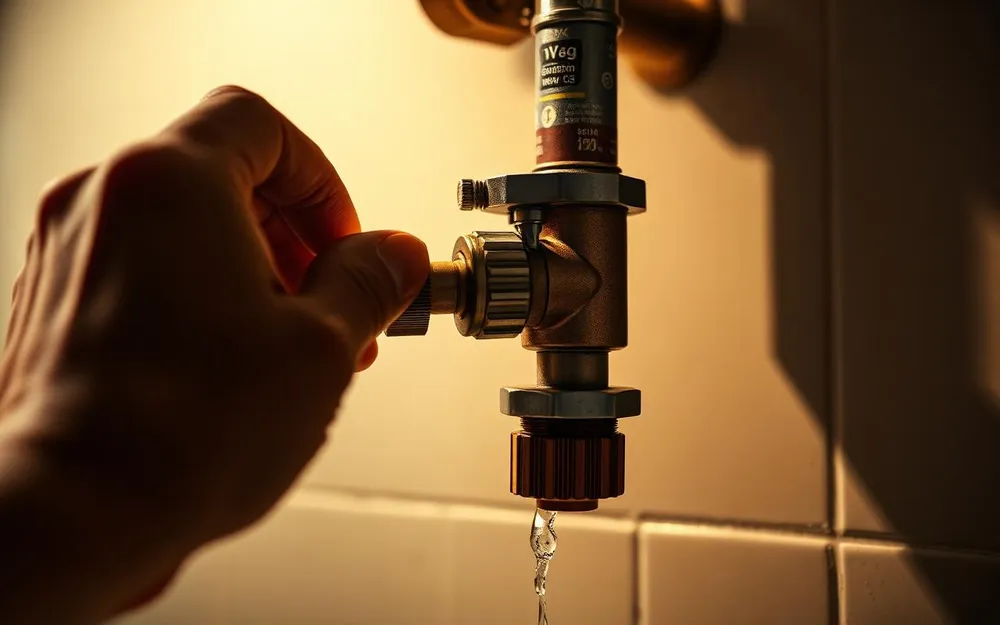
Turn each valve clockwise and test it before disconnecting anything. If a shutoff valve does not fully stop the water, do not force the project. The home’s main water supply may need to be shut off, and a weak valve can start leaking when it is operated after years of sitting untouched.
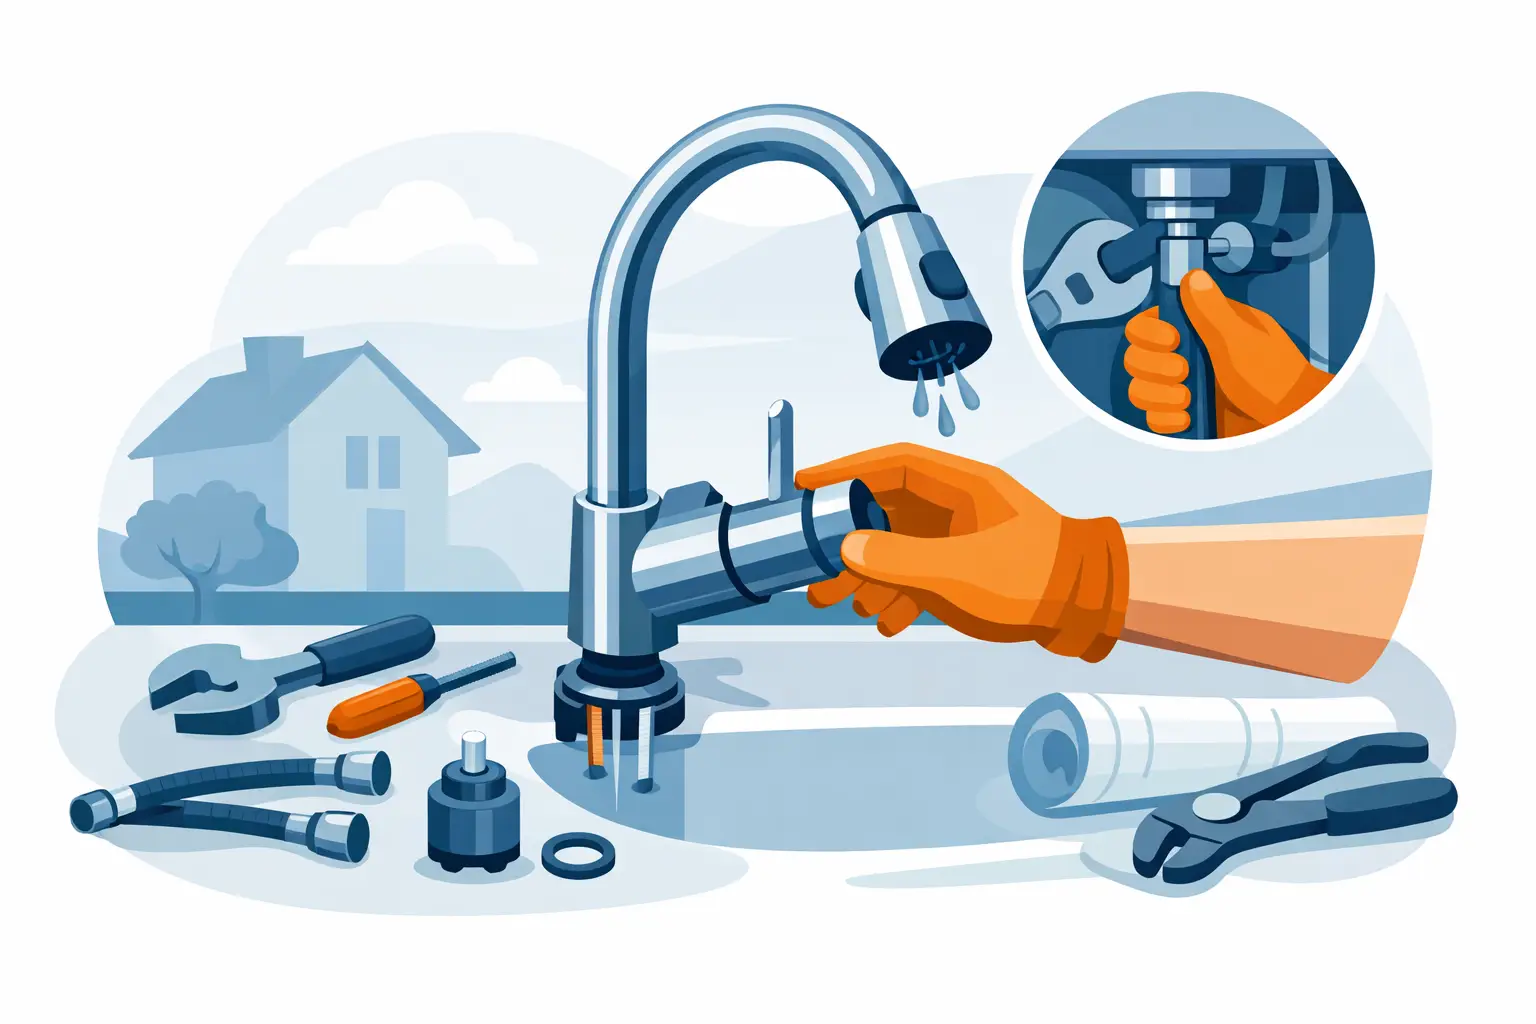
Have the correct tools and supplies ready. For most standard installations, that includes:
- An adjustable wrench and basin wrench
- Channel-lock pliers
- A bucket, towels, and a flashlight
- New braided supply lines if the existing lines are old or damaged
- Plumber’s putty or silicone sealant, only if the faucet manufacturer calls for it
Do not assume old supply lines will fit the new faucet or remain dependable after being disconnected. Flexible lines are inexpensive compared with the damage a failed line can cause inside a cabinet.
The Basic Faucet Replacement Process
The work begins by shutting off the hot and cold water valves under the sink. Open the faucet afterward to release pressure and verify that the water is off. This simple check prevents an avoidable mess.
Next, disconnect the supply lines from the shutoff valves and remove the nuts holding the old faucet in place. These mounting nuts are usually tucked behind the sink bowl, where access is limited. A basin wrench is often the tool that makes the difference. If corrosion has locked the hardware in place, forcing it can crack a sink, twist a water line, or damage the shutoff valve.
Once the old faucet is removed, clean the sink surface thoroughly. Old putty, mineral deposits, and grime can prevent the new faucet from sitting flat. Set the new fixture in place according to its instructions, secure the mounting hardware from below, and connect the hot and cold supply lines without crossing them.
Tighten connections firmly, but do not overtighten. Compression fittings and plastic components can crack under excessive force. Turn the water back on slowly, then inspect every connection with a dry paper towel. Even a small amount of moisture on the towel indicates a leak that needs attention.
Finally, run both hot and cold water for a minute. Check the base of the faucet, the supply connections, the shutoff valves, and the drain area. If the faucet has a pull-down sprayer, test hose movement and confirm that the weight does not catch on pipes or stored items under the sink.
Common Problems That Make This a Professional Job
Many homeowners can replace a basic faucet successfully, especially when the existing shutoff valves and connections are in good condition. But a few warning signs should change the plan.
Call a professional if you find a leaking or frozen shutoff valve, corroded supply pipes, water damage inside the cabinet, a cracked sink, or a faucet that requires changes to the countertop or plumbing layout. Wall-mounted faucets, commercial-style kitchen fixtures, and installations involving filtration systems or garbage disposals also deserve closer attention.
The risk is not just a crooked faucet or a slow drip. A damaged valve or loose supply connection can release water into a cabinet while no one is home. That can affect flooring, drywall, cabinetry, and nearby rooms. Paying for proper installation is often less expensive than repairing water damage later.
For landlords and property managers, professional replacement can also reduce disruption. A qualified plumber can identify related issues, replace worn supply lines when needed, and make sure the fixture operates correctly before the unit is turned back over to a tenant.
A Faucet Replacement Guide for Homeowners: Avoid These Mistakes
The most common mistake is choosing a faucet based only on appearance. Confirm the hole pattern, spout reach, mounting thickness, and required clearance before purchasing. Save the receipt and keep the installation instructions available until the job is complete.
Another mistake is reusing worn parts. Old supply lines, corroded mounting hardware, and failing shutoff valves may hold up during installation, then leak later. If a component looks questionable, address it while the cabinet is already open.
Do not use excessive thread tape or sealant on connections that rely on rubber washers or compression fittings. Those materials seal differently, and adding the wrong product can create a leak rather than prevent one. Follow the faucet manufacturer’s directions instead of relying on a one-size-fits-all fix.
When You Want the Job Done Without the Guesswork
A faucet replacement should leave your sink working better, not create a new concern under the cabinet. If the existing plumbing is old, the installation is tight, or you simply want the work handled correctly the first time, Best Quality Plumbing Services can provide a clear assessment and dependable installation.
A good faucet should feel simple once it is installed: smooth handles, steady water flow, no drips, and no reason to keep checking the cabinet floor. If yours cannot deliver that, it is worth getting the right help before a small fixture problem turns into a water damage repair.