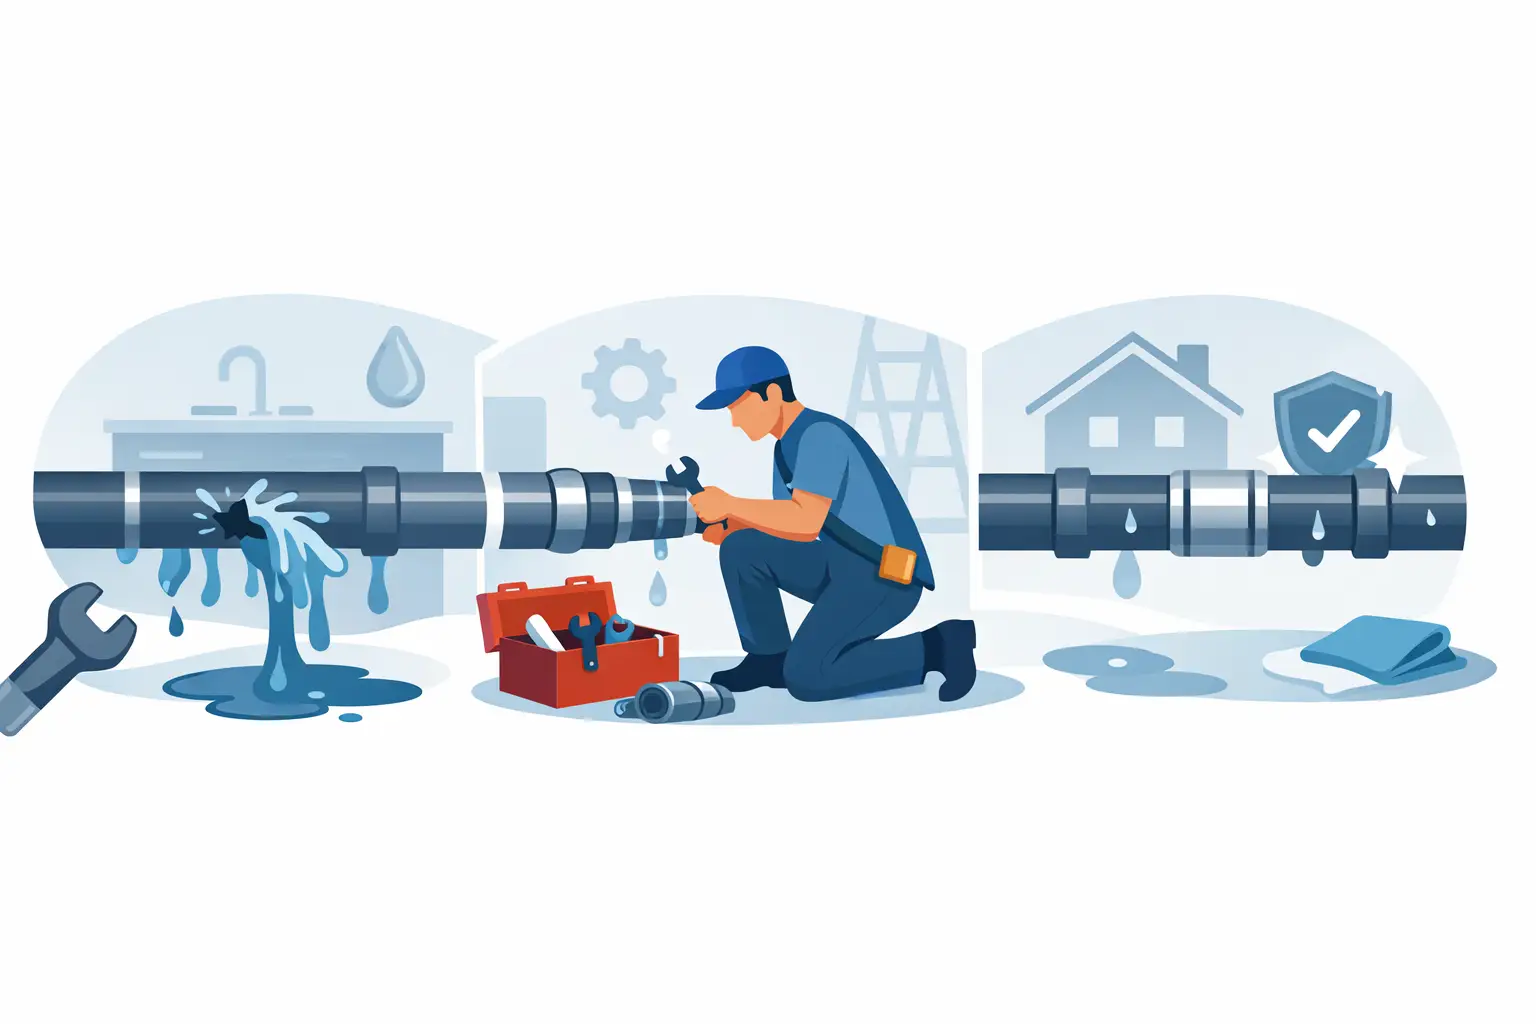
Water spreading across a laundry room floor is not a problem to watch for a few more minutes. This burst pipe repair example shows what a professional response looks like, from stopping the water to testing the finished repair. The exact fix depends on the pipe material, where the break occurred, and how much water has reached walls, floors, or nearby electrical equipment.
A burst pipe can happen after a cold snap, but freezing is not the only cause. Older copper pipes can split from corrosion, galvanized lines can fail as they age, and a weak joint can finally give out under normal water pressure. In some homes, a nail or screw from a remodeling project damages a hidden pipe long before the leak becomes obvious.
A Burst Pipe Repair Example: The First 30 Minutes
Consider a common situation: a homeowner finds water coming through the wall behind a washing machine. The water is steady, the drywall is wet near the baseboard, and the laundry area is beginning to flood. The first priority is not finding the exact crack. It is stopping the water source.
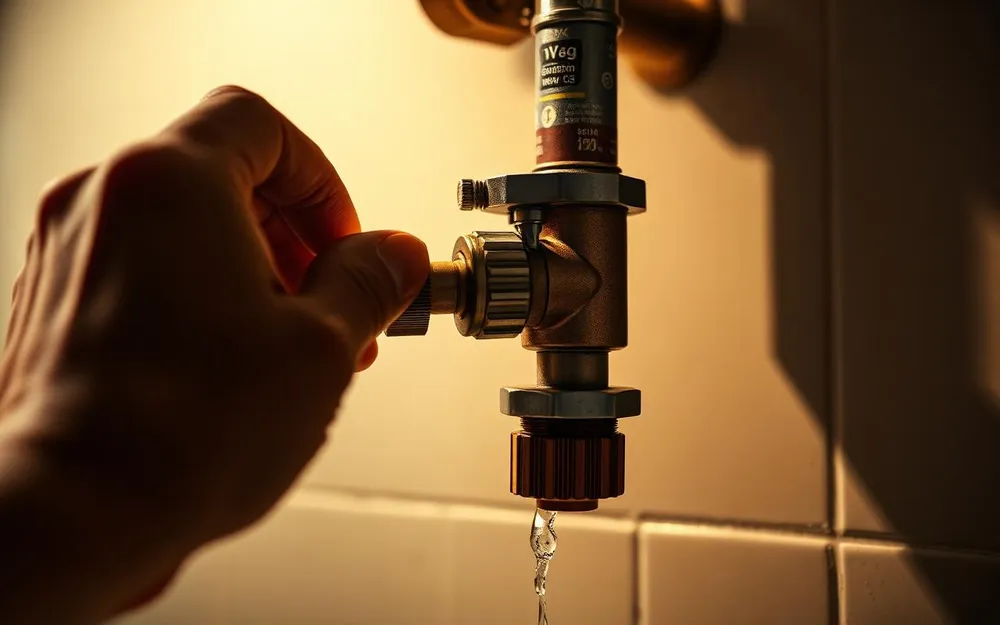
The homeowner shuts off the main water valve, usually located near the water meter, exterior wall, garage, or mechanical area. If the main valve is difficult to access or will not turn, the water utility may need to shut off service at the meter. Once the water is off, opening a faucet at the lowest point in the home helps drain remaining pressure from the lines.
If water is near outlets, appliances, a panel, or extension cords, do not step into the area or handle electrical equipment. Shut off power to the affected area only if it can be done safely from a dry location. Move furniture, rugs, boxes, and other belongings out of the wet area when possible, but do not delay calling for help to start a major cleanup.
At this stage, a professional plumber can often tell the difference between a failed pipe and another problem, such as a leaking washing machine hose, a loose drain connection, or an overflowing drain. Each needs a different repair. Guessing can lead to unnecessary wall damage or leave the actual leak active.
Finding the Break Without Opening More Than Necessary
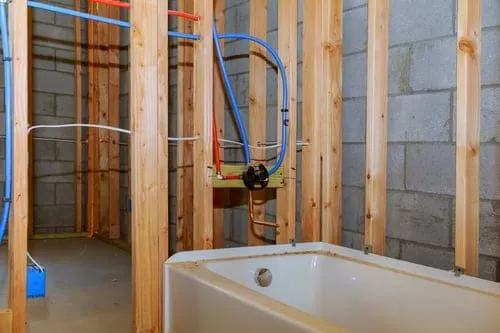
After confirming the water is off, the plumber inspects the visible area and traces the likely path of the supply line. Water does not always appear directly beneath the break. It can travel along framing, pipes, insulation, or the back of drywall before it becomes visible.
In this example, the plumber finds a damp section of drywall behind the washing machine and removes only the material needed to reach the pipe. Inside the wall is an older copper hot-water line with a split near a corroded fitting. The split is small, but under pressure it released enough water to soak insulation and spread across the floor.
A careful diagnosis matters because the visible split may not be the only concern. If corrosion has weakened several inches of pipe, replacing only the cracked spot can create another leak nearby. The plumber checks the surrounding pipe, fittings, and supports before deciding how much material to remove.
This is where the repair method depends on conditions. A clean, isolated break in otherwise sound copper may need only a short section of replacement pipe and new fittings. If the line is badly corroded, has repeated leaks, or is difficult to service in its current location, replacing a longer section with properly supported PEX may be the better value. A small patch can cost less upfront, but it is not always the most dependable solution.
How the Pipe Repair Is Completed
With the damaged section identified, the plumber cuts out the weakened pipe and prepares both ends for a new connection. Water must be fully drained from the line before soldering copper or making other approved connections. The pipe ends are cleaned, measured, and aligned so the replacement section is not under stress.
For a copper repair, the plumber may install a new copper section with properly fitted couplings. For a PEX repair, the work may involve approved transition fittings and a new section of tubing secured to prevent rubbing or movement. The best choice is based on access, local code requirements, the existing plumbing system, and the condition of the pipe.
Temporary repair clamps and tape may slow a leak in an emergency, but they should not be treated as a permanent fix for a split pipe. They can fail without warning, especially when the pipe has corrosion or the damaged area is larger than it appears. A lasting repair means removing compromised material and restoring the line with the correct components.
Once the new section is in place, the plumber turns the water back on gradually. The repair is checked for drips, pressure loss, and moisture around every new connection. Fixtures are run to confirm normal flow and to release air from the lines. If the break was on a hot-water pipe, the repair is checked again after the pipe warms up, since temperature changes can reveal a problem that was not visible at first.
The Repair Is Only Part of the Job
Stopping the leak protects the plumbing system, but the water already released still needs attention. Wet insulation, drywall, flooring, and cabinets can hold moisture long after the floor looks dry. That moisture can damage materials, create odors, and encourage mold growth.
For a limited leak caught quickly, fans, dehumidification, and removal of wet materials may be enough. For a larger burst, especially one that ran for hours or affected multiple rooms, professional water-damage restoration may be necessary. A plumber can identify the source and make the pipe repair, while a restoration team addresses drying, sanitation, and damaged building materials.
Take photos of the affected area before cleanup if you may file an insurance claim. Keep the damaged pipe section if it is available, and document the time the leak was found and when the water was shut off. Insurance coverage varies, but clear records can help explain what happened.
Do not close the wall immediately after a repair if materials inside are still wet. The area should be dry before insulation and drywall are replaced. Rebuilding too soon can trap moisture where it is hard to see.
When a Burst Pipe Needs Emergency Service
A pipe break needs immediate professional attention when the main water valve will not stop the flow, water is reaching electrical areas, a ceiling is bulging, or the leak affects a tenant-occupied property. Property managers should also act quickly when water may travel into another unit, shared wall, or common area.
Even after the water is off, it is wise to call a plumber promptly if the pipe is hidden behind a wall, under a slab, in a ceiling, or near a water heater. These locations can conceal more extensive damage and are not good candidates for trial-and-error repairs.
Best Quality Plumbing Services helps homeowners, renters, and property managers handle urgent pipe failures with a clear diagnosis and practical repair options. The goal is to stop the damage, make the right repair, and leave you with a plumbing system you can rely on.
Preventing the Next Pipe Failure
Not every burst pipe is predictable, but routine attention can reduce the risk. Watch for discolored water, repeated pinhole leaks, unexplained increases in the water bill, low pressure at one fixture, or damp spots near plumbing walls. These can point to aging pipes or a slow leak before a major failure occurs.
During cold weather, protect exposed pipes in garages, crawl spaces, and exterior walls. Keep indoor temperatures steady, disconnect outdoor hoses, and know where the main shutoff valve is before an emergency. If the valve is stiff, buried behind stored items, or difficult to reach, having it serviced is worthwhile.
A burst pipe is stressful because the damage can spread fast. A fast shutoff, a professional repair, and proper drying give your home the best chance of getting back to normal without a lingering plumbing or moisture problem.